

GLITTER
I've always wondered why it is that Autumn/Winter fashion trends tend to exclude glittery, shiny, pretty things. Apart from Christmas time of course, when it's perfectly acceptable - nay, compulsory - to wear said glittery, shiny, pretty things. In my humble opinion, glitter really ought to be an all year thing. Why restrict ourselves to just a month or so of sparkle? WHY?
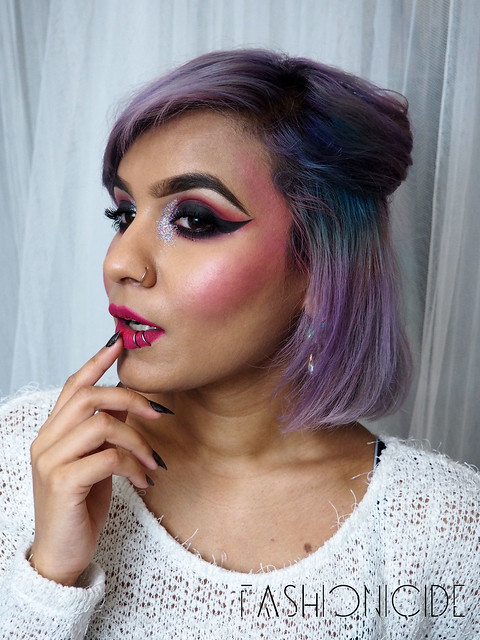
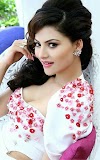
Not long before my trip to Norway (blog coming soon, promise!) I packed on some glitter on to the inner corners of my eye. I'm a huge fan of the inner corner highlight, and I've really excelled with it this year too, extending it further up and further down. Also, instead of using the more 'typical' beige-slash-white colours, I began experimenting with slightly less orthodox colours, such as an iridescent blue from Makeup Forever - which, by the way, I completely adore.
For glittery inner corners, it's actually pretty simple. You'll need just a couple of items to achieve the look (sadly, an empty washing up liquid bottle is not one of them!)
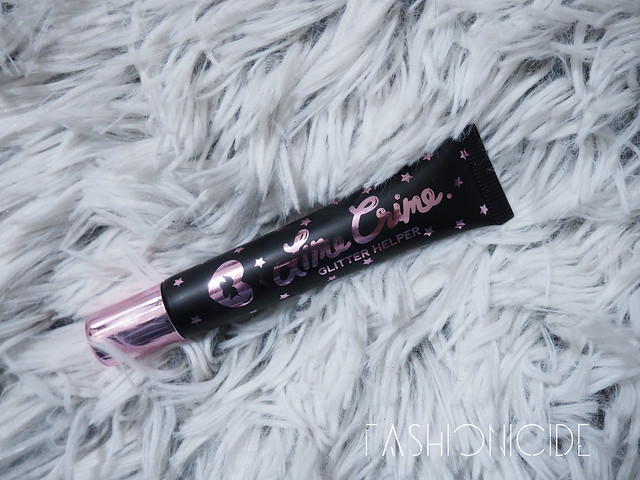
Lime Crime's Glitter Helper is the first thing you'll need. Now I only purchased this a couple of weeks ago as part of my Black Friday splurge, but I am seriously glad that I did. It's not what I imagined it would be, in fact I don't even know what exactly I was expecting, but when I squeezed the tube, out came a thick cream. it wasn't until I applied it to the face that I realised that this was actual glue. Glue for the face! Genius!
So, I dabbed the Glitter Helper onto the area where I wanted the inner corner glitter and extended it out a little. I've found that you can't rub this in or move it around once applied as the glue starts to get a little streaky.
Once that's applied, it's time for the glitters:
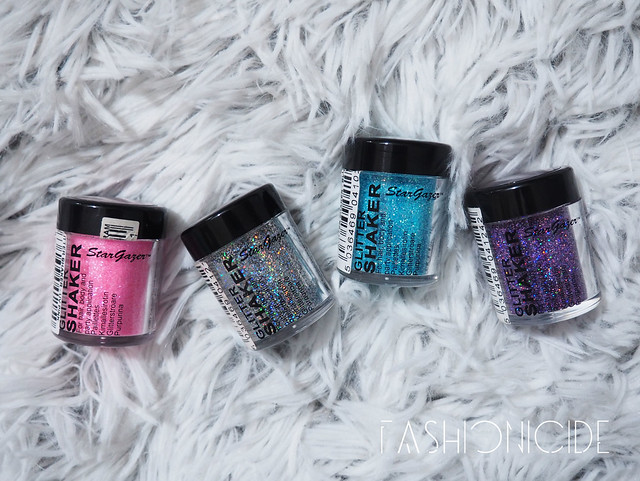
STARGAZER Glitter Shakers (L-R) - UV Pink, Holo, Blue & Lazer Purple
Stargazer Glitters are *so* underrated. At just £3 each, they're an absolute steal. Each tub contains an awful lot of finely milled glitter, and they do a great job of filtering out the big chunky bits you sometimes find in glitter pots. None of that here.
For the look, I tipped out a tiny amount of each glitter into one of the lids and mixed them all together. Then I simply patted the mixture little by little on to the glue until the area became fully opaque and I could no longer see the skin. It really is that simple!
If you take a close look at the photos, you can just about make out the individual glitter colours in there, and when you start to move around under various different lighting conditions, the sheen varies with it.
OTHER PRODUCTS USED
// FACE
NARS All Day Luminous Weightless Foundation in Barcelona
// CHEEKS
Sugarpill Dollipop Eyeshadow (used as a blusher)
MAC Mineralize Skinfinish in Lightscapade
// BROWS
Illamasqua Eyebrow Cake in Thunder
// EYES
NYX Jumbo Eye Pencil in Milk (brow bone highlight)
NYX Jumbo Eye Pencil in Black Bean (base for eyeshadow)
MAC e/s in Beauty Marked (all over the lid and undereye)
Urban Decay 24/7 Glide-On Eye Pencil in Perversion
Muse from the Lime Crime Venus Palette (crease and undereye)
BourjoisVolume 1 Seconde Mascara
// LIPS
Lime Crime Velvetine in Pink Velvet
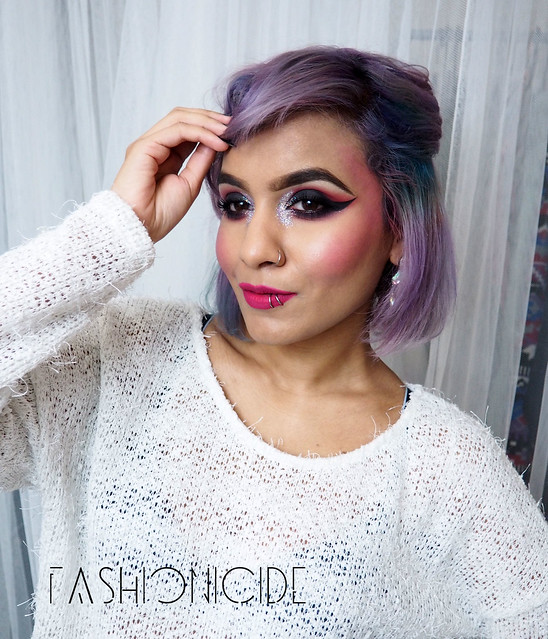
As you may have noticed in the face photos, I extended my blusher beyond the cheeks and all the way up to the temples. I had this vision in my mind of Fairies or Nymphs, and imagined that when they blush, more than just the cheeks would turn a rosy red! Maybe that's just me though(?) Either way, I think it turned out rather well, don't you?
Until next time!


0 Yorumlar